Showing posts with label color wheels. Show all posts

Tuesday, February 2, 2021

Footprints in the Snow...

 Footprints in the Snow

In this project we will learn about secondary colors and perspective.

Materials:

watercolor paint

Sharpie

a circle tracer

a pencil

water and a paintbrush


1. Secondary Colors- the colors you get when you mix the primary colors.

yellow+red=orange

yellow+blue=green

red+blue=purple


For this painting you will only be using the secondary colors


2. Using perspective to make your work look real. 

As things move away from you they appear smaller.

When things are closer to you, they take up more of your field of view,

so they seem bigger. When they're further away, they take up less of your

field of view, and so seem smaller.


Steps

Step 1. Draw the trunk of your first tree.


Step 2. Draw the first layer of your tree

on top of the trunk. It looks like a mustache.


Step 3. Now draw the second layer of your tree but smaller. 


Step 4. Now draw a third layer.


Step 5. Finish drawing layers of the tree until it is as tall as you

want it to be.


Step 6. Draw a snow hill behind your tree.


Step 7. Now add in another snow hill and start another tree there. Remember to make the new tree smaller than the first one.

Objects farther away appear smaller.


Step 8. Add in more trees.


Step 9. Find something to draw a circle with. I used a roll of tape.


Step 10. Use your tracer to draw a circle for the sun.


Step 11. Now watercolor paint your drawing using only the secondary colors-

Orange, Green and Purple


Step 12. Using a pencil create a shadow under the tree

by rubbing the pencil on its side.


Step 13. Give each tree a cast shadow.

Step 14. Add in your footprints. 

Remember the footprints will appear smaller as they move 

away from you over the hill. You may want to make

boot prints instead of foot prints....the snow is cold.


Please share your finished pieces on the Art Room Blog Face Book page.

Saturday, December 22, 2018

1st Grade Color Wheels...Kind of


This is a fun and super easy way to teach or review the color wheel. 

Start with a 12x12 sheet of paper turned to a diamond. 

I use a old top that is 6inches across to trace my curves from.
However you can use what every you have on hand. I save all kinds of plastic lids and anything round things.

Any 5 or 6 inch diameter circle will work.


Start with the circle on the point and then trace 1/2 of the circle.

Now do the other side.

Move up the side of the paper a little and make another Simi-circle on one side...

and then the other. These first 4 curves are important because they will help you place the work together on the bulletin board when it's all are finished.

After the first 4 curves ....I just tell the kids to create at will.

Working their way up the paper.


Until they reach the top. I have students get my "okay doky" before they paint. They usually need a few more curves. Just check to make sure the large spaces are broken up.

Then start paining from the bottom up...Red, Orange, Yellow, Green, Blue and Violet. 
Make sure you are paining in each section individually and not making entire swatches of color across your paper. 


When everyone is finished you can put them up on the board with the red centers pointed in so it forms a crazy, collaborative color wheel.

This is our inspiration piece. I wish I could tell you where it came from.
It is on a printed paper that I got years ago. If anyone knows please let me know do I can give the artist the credit it deserves!


Sunday, December 4, 2016

3D Color Wheel Professional Development Workshop...

3D Color Wheel professional workshop taught by Amanda Shaw. 
I love my school district and all these wonderful workshop put on by our fearless leader Jasmine Hawkins.

Tuesday, January 12, 2016

Sunset on the Gulf...

So just getting back from my beach vacation this past Christmas I wanted to do a sunset theme painting because that is just what we do on the island every night, watch the sunset!

So the first step is to use watered down black tempera paint for the black lines.
Then allow that to dry.


We discussed warm and cool colors and value changes.
I showed students how adding more or less water to their brushes changes the colors 
from more intense with less water to washed out with lots of water. 
We also worked in layering the same color to add changes in value. 


The last step is to go back and add designs on top of the work using a darker or lighter value of the same color.


Tuesday, October 20, 2015

First Year Art Club Color Wheel Lanterns...

Art cub created color wheels the we hung them like lanterns in the room. They spin around and add really cool kinetic energy to the room! 


Wednesday, January 21, 2015

Art Camp 101 - 1st - 6th Grade...


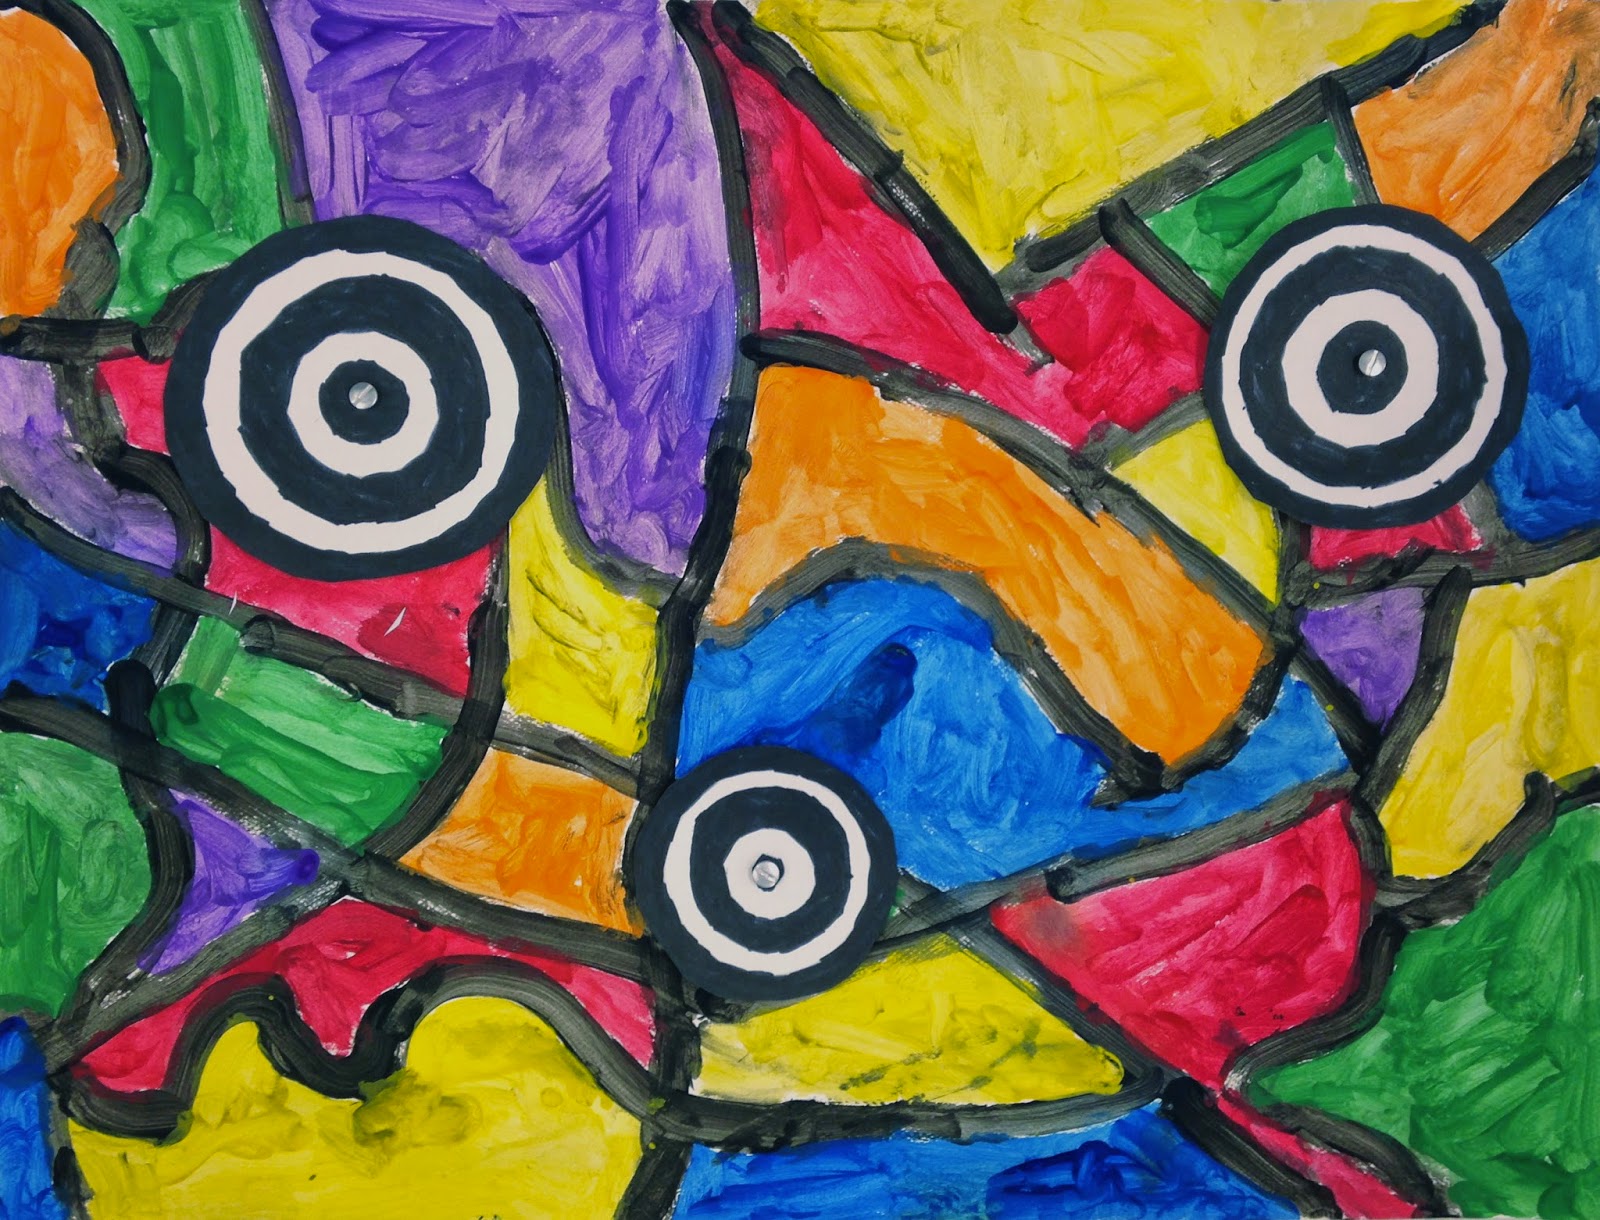
   Color Wheels with real wheels...
The black and white circles are created then added on with hardware and actually spin!


Photo Bomb!

Great fun was had by all!

First paint in lines...


Then paint in the spaces. We used primary and secondary colors.
On a separate piece of paper use a compass to create circles.

Then color in every other circle. Make sure the outside circle if place first, then work your way in to the center.


When the paint dries, cut out the circles and using rivet screws that you can get a Lowe's, attach the circles in random places to the painting.