Showing posts with label Patterns. Show all posts

Wednesday, October 14, 2020

Henna Hands Project...

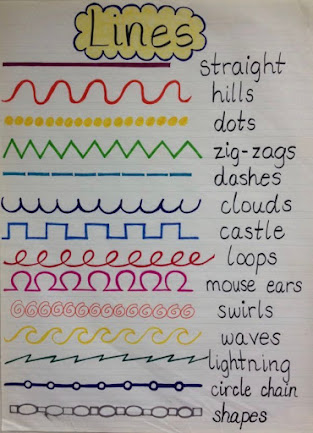
 the Elements of Art: Line


India Traditional Bridal Henna 

While body adornment dates back over 5,000 years, it's generally used today to express luck and happiness, and is often featured at ceremonial events like weddings and births. If you attend a traditional Indian wedding, henna will almost always be a part of the celebrations. Henna paste is made from a powder derived from the henna plant. It has been used for centuries as a natural dye for hair and nails as well. The temporary dye is now most  used as part of the Indian marriage celebration.


Photo Credit: Amit Dave/Reuters


To purchase these designs go to the ETSY shop of Eltendedero Crafts. 
She has some amazing things!
Click HERE 


Lesson 4. Design Hands

Step 1. Using a pencil, trace around your hand and part of your wrist and arm.


Step 2.  Turn our paper once to a different side. Using a pencil, trace around your hand and

part of your wrist and arm again. This hand will over-lap the first hand.


Step 3. Turn our paper once to a different side.Using a pencil, trace around your hand and part of your wrist and arm again. 

This hand will overlap the first two hands.
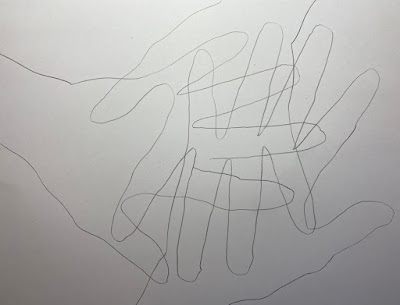


Step 4. Outline all your hands with a sharpie or black marker or pen. This may get confusing with all the overlapping 

hands so go slow and take your time.

.


Step 5. Using a sharpie create the henna designs inside your hands. Remember that

when ever you come to a line you need to change your design.


Step 5. You will be using markers for this project. Pick out several markers for your color pallet. Your pallet can be either cool or....warm.


or warm...


Step 6. Pick your first color and make sever dots on the page.


Step 7. Now pick your next colors and continue circling the dot until all of the negative space is full. The negative space is anywhere the hands are not. 


Remember the hands will stay black and white, only the background has color.


Sunday, November 29, 2015

A B Pattern Butterflies....

A B patterns so cute! 

First draw 3 large butterflies.


Too Small....but very cute!


Then using your ruler mark off visually even squares.


Inside the squares place your A B patterns.
Students can come up with any 2 designs they like.


Now watercolor paint the butterflies and the inside area.
Leave the A B pattern boxes black and white--no paint.


My examples: Draw 3 Butterflies of different sizes then create a border with A B repeating patterns.


Watercolor paint the butterfies.

Watercolor paint the background.

Zentangle In the Classroom DropBox--Lessons and ideas on how to use Zentangle in your classroom.
It's not Zentangle if you simply do repeating patterns and call it Zentangle! Check our some ways Zentangle can be used in the art room.
 link HERE


Monday, October 19, 2015

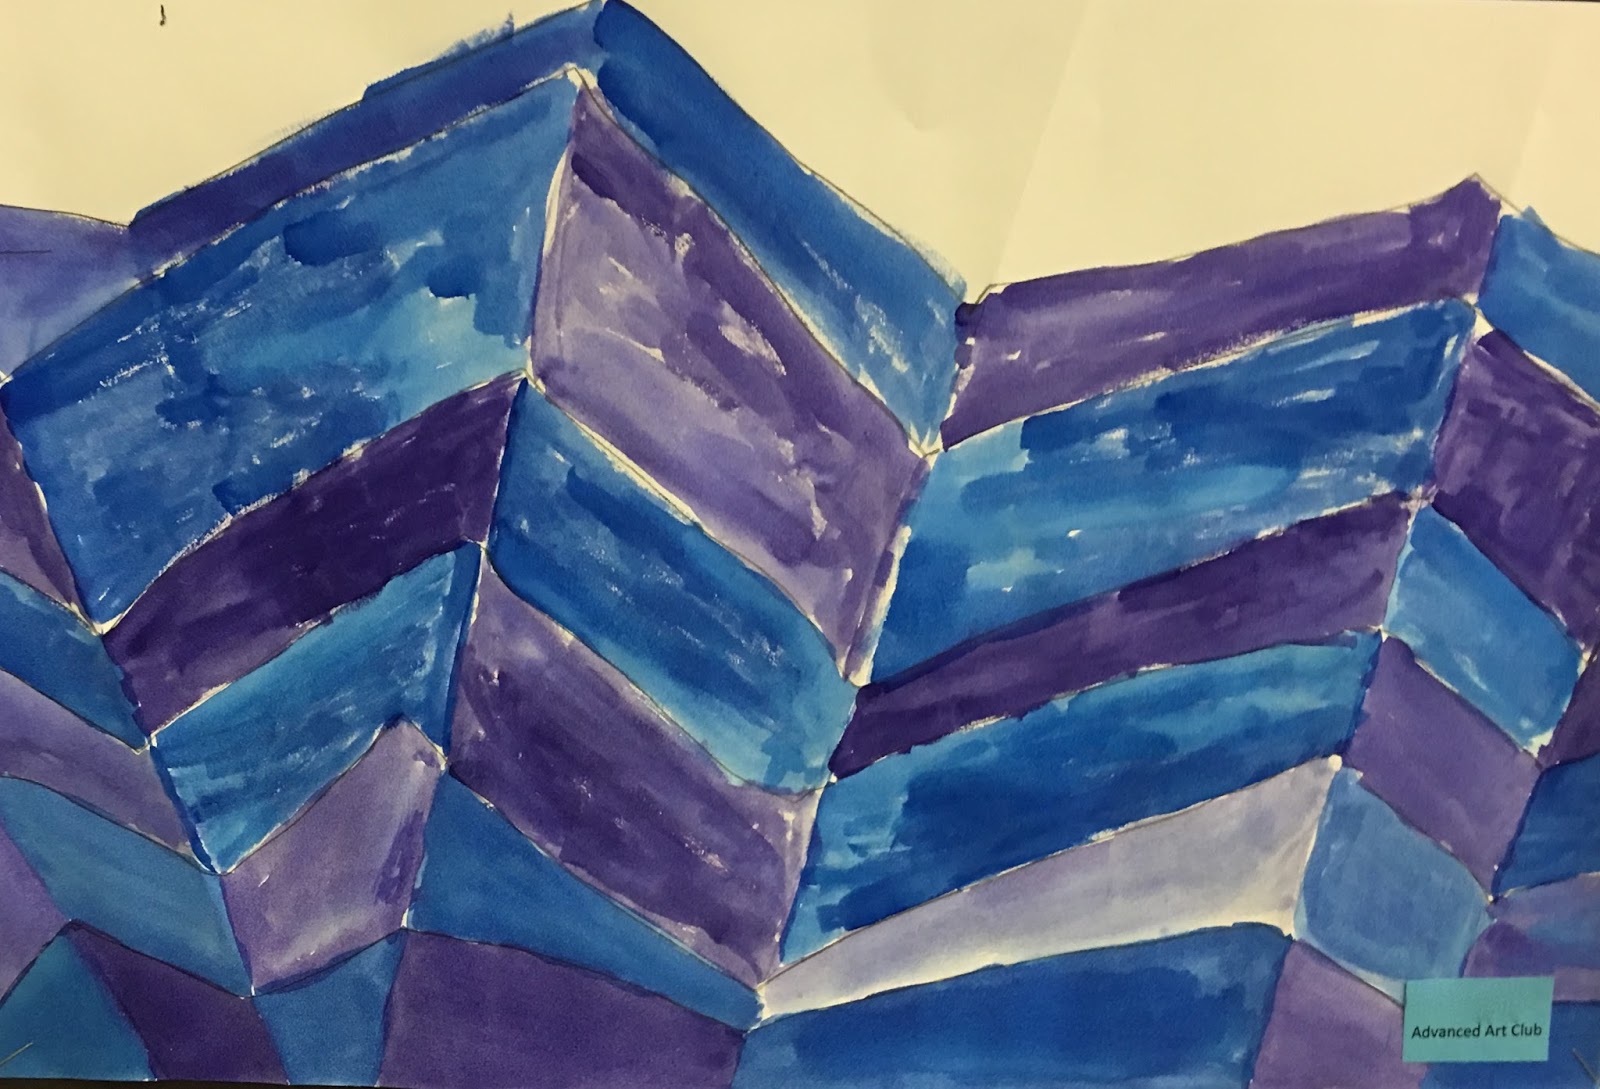
Folded Art Advanced Art Club Project...

Advanced Art Club's Folded Paper Project

First you fold the paper. You fold front to back just like you would a paper fan but the folds are on an angle and uneven.

Next using a ruler of free hand (which ever you like best) have students draw a straight line from fold to fold. Ever time you come to a fold you change the line direction. 

Keep adding lines until you have have an even number of lines. I have found that 8 lines works well. You can outline your lines with Sharpie or leave them in pencil.

Next add color, pick 2 colors. Some people watercolored and some people used colored pencils.
You alternate you color pattern, every time you come to a fold switch colors. You also switch colors top to bottom. If you have an even number of lines the same color will be on top and bottom.