Showing posts with label Printmaking. Show all posts

Friday, April 10, 2020

Collagraph and Collage......


Fish Collage

So with all the on-line teaching that is going on with the quarantine and the COVID-19 virus I have started my own You Tube channel. I have learned so many new programs in the past 3 weeks it's crazy! But I am so glad I have these new skills. 

My first lesson is about creating a collage and a collagraph print. 

A college is "both the technique and the resulting work of art in which pieces of paper, photographs, fabric and other ephemera are arranged and stuck down onto a supporting surface".
Tate Modern 


1. What are contour lines? Contour lines are lines that result in a drawing that is an outline. The French word contour means "outline". 
Cross contour — “lines that flow over the form of the object. A good way to understand this concept is to take your finger and move it slowly over the surface of an object, following a straight path. Watch your finger as you move it and try to imagine that it is leaving a line as it moves. Your finger will move and change direction according to the form”. Matt Fussell in Drawing Concepts

Collagraph and Collage YouTube video:


Saturday, December 22, 2018

Three Part Printmaking Project...

This is one of my all time favorite printmaking projects. 

It is a simple and easy way to get you kids interested in printmaking. 
Everyone's print turns out looking amazing!

The first thing you will need is Insulation Foam Core Board. You can get it at Lowes for about $20 a sheet. It will last forever and it is reusable so the cost is minimal. You can order something similar  HERE from amazon. I got the board in the photo from Lowes to create sets for our school play Annie, which we did in March of 2018. 

Click HERE view this at Lowe's

It is very easy to cut this stuff using a utility knife. I cut mine to 2 x 3 in squares. Or what every breaks off...

Use rubber bands to wrap around the block. I have regular and latex free rubber bands.
Click HERE for the latex free rubber bands on Amazon.

Wrap the block randomly, use only 1 or 2 bands. More than that will cause some of the bands not to print.

This 1st block should be printed in black. 

You can hold the block in your hand and ink it.

Press down on the block and slowly rock it in a circle to get all the sides printed.


I do a single line print right down the middle of the paper. 
I like to use 6 x12 or 6 x18 inch 90 lb weight paper. 

After printing just throw the block into the sink and wash it with a little soap.
You can reuse the block and the rubber bands.


Dry the block off and get it ready for the next step.

Next you will need foam craft sheets. Cut the foam sheets into small strips and use tacky glue to attach them to your block. 
Click HERE to get Craft tacky glue on Amazon. Click HERE to get the foam sheets. You can also get the foam sheets at the Dollar Tree. There are also foam sheets that already have a sticky back but they cost a little bit more.

I save all my foam sheet scraps to use on other projects. 


I use cheep plastic place mats to roll the ink on. You can pick this up at Walmart for about .85 each. They are amazing because they are washable and last forever.

These things are perfect for inking mats. I have had this set for years. Make sure you get ones with out any texture.
They just wash clean!
I teach the kids to always roll in one direction and in a small square. 
I say "the square is your friend" about 1,000 times during the inking process.
The top square is for inking and the lower square is to even out the ink on the brayer.

Now ink the block 


Print right on top of the rubber band prints.

Print right up the middle


The next step is carving. If your kids are not ready to use carving tools you can use other items to print with. Click HERE to order this spiral stamp...

Click HERE to order this spiral stamp...


If you choose to try craving it is actually very easy. I have all my carving tools numbers 1 to 25. There has to be 25 tools lined up before anyone leaves my room. 
The kids also have to work in partners. One is watching for safety reasons while the other carves. Then they switch. I have the kids use a #3 or #4 sized Speedball carving tool. The number of the carving tool determines the size, the larger the number the wider the carving blade.
I got my carving tools from Dick Blick.


You can trim off the corners for the kids if you want a more rounded look.
Now you are ready to ink and print your carved stamp. Remember when you are rolling out the ink "the square is your friend".


Start at the bottom and print right on top of the last layer when it is dry.

Print right up the middle.

This is the first one I ever did.
I think you will also love your results!

William H. Thielen
This is my inspiration piece. It is from this really great Mixed-Media/Printmaking book by Sarah Riley

Click HERE to get this amazing book on Amazon

Red Innertube by Sarah Riley

When I am printing I always keep my art journal open to print off the extra ink.


Saturday, November 24, 2018

Tin Foil Printmaking with Tempera Paint...


Here is a fun and easy way to introduce Printmaking to your elementary students.

First you will need Aluminum Foil.
You can buy it HERE Amazon or get it at the Dollar Tree. Just beware you foil is not so thin that is will tear when rubbed. I go for the Reynolds because it is heavier and I can reuse it on other 3D and paper mâché projects. 

If your foil does not have a clean flat edge simple fold it over. This is important because this is how  students will register (line-up) their prints. 

I use Crayola tempera paint for this project. Click HERE to by it on Amazon. You can use any tempera paint out there as long as it in not to thin. Poster paint and finger paints will not work well for this project. Also acrylic will not work because it dries to fast and can stain kids clothes. 

I use long handle flat paint brushes for this project. You have to cover lots of area quickly and these brushes seem to do the trick. You can click HERE to buy a set on Amazon.

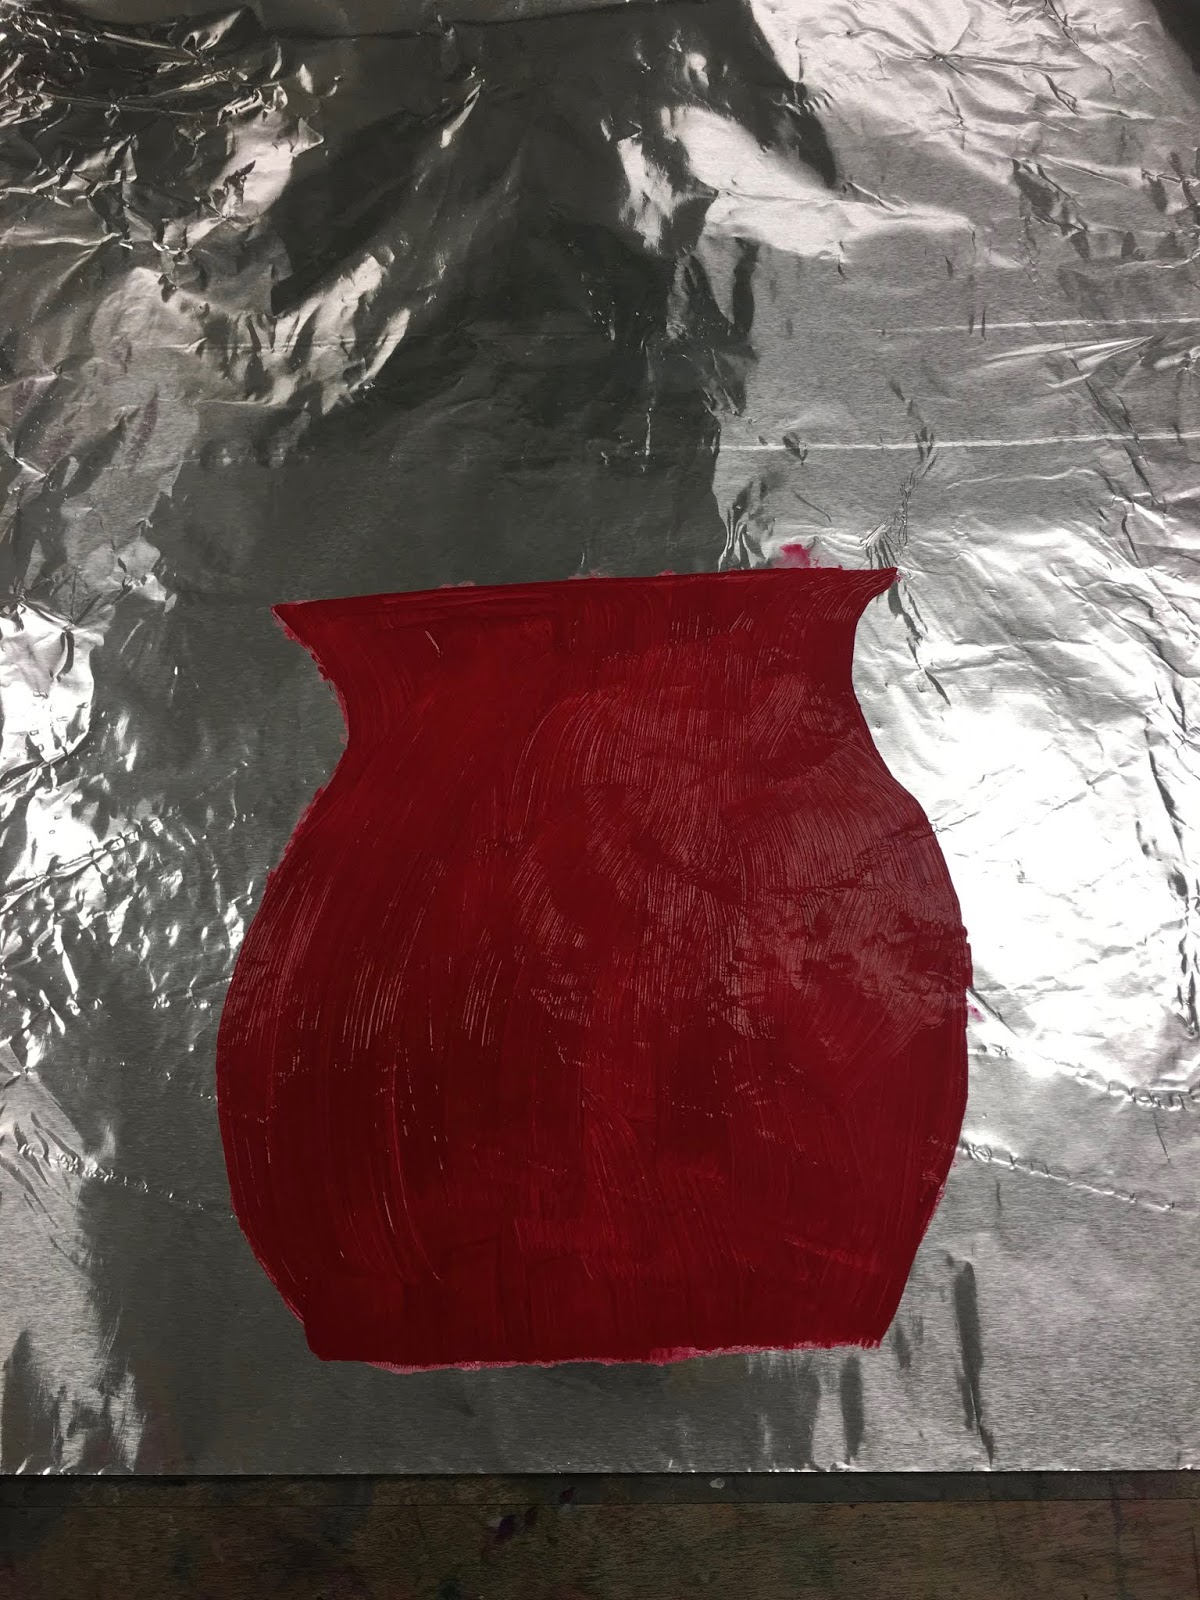
Have students start painting the bottom of their vase about 1 inch from the edge of the foil.
Simply paint the vase onto the foil. I don't have the kids sketch these out anywhere before they begin this project. I found the kids spent WAY too much time trying to make the painting look just like their drawing. I want them to be more free and spontaneous and you need to work quite fast to keep the paint from drying out.

Immediately after painting mist the lower half of the paper, the area where the vase will be printed. Make sure you use a mist spray and not a hard stream spray. You can click HERE to get these bottles on Amazon, you can also get something similar at the Dollar Tree.

Place the paper where the bottom of the paper is in-line with the bottom edge of the foil and the side edge of the paper is in-line with the side edge of the foil. This is how you will register your prints. 

You should then hold the paper in place with one hand and rub the paper with the other hand. Now pull your print....you have a vase!!!

*NOTE--- the foil is the printing plate and it stays on the table. The paper is placed on top to the foil.

There is a stain left where you paint the vase on the foil so I have my kids do 2 prints. On second print they have to add a design. Simply repeat the same steps of painting the first vase onto the foil but this time there will be a stain on the foil to follow. Then using a finger, eraser, marker cap or anything that will not tear your foil (this is were the heavier foil will help) scratch out a design in the paint. 

Mist the paper and then print.


Now its time to add the flowers.
Since there will be a stain on the foil where the vase was you will know right where to paint in the flowers on the foil.

Mist the top half of your paper and then register (place) the paper just like you did for the vase on the bottom and side edges for the foil. 
Rub the top half of the paper and then pull your print...


Since the flowers will also leave a stain on the foil, simply paint over them and print your second vase adding the flowers. You can use the same colors as the first print or you can change the second print colors for both the vase and the flowers. 

Have Fun...