This is such a fun and easy thing to do...
I do not do this with my kids in elementary school but I believe middle and high school kids could
easily handle this project.
I teach this as part of my adult art classes. It is also one of my favorites.
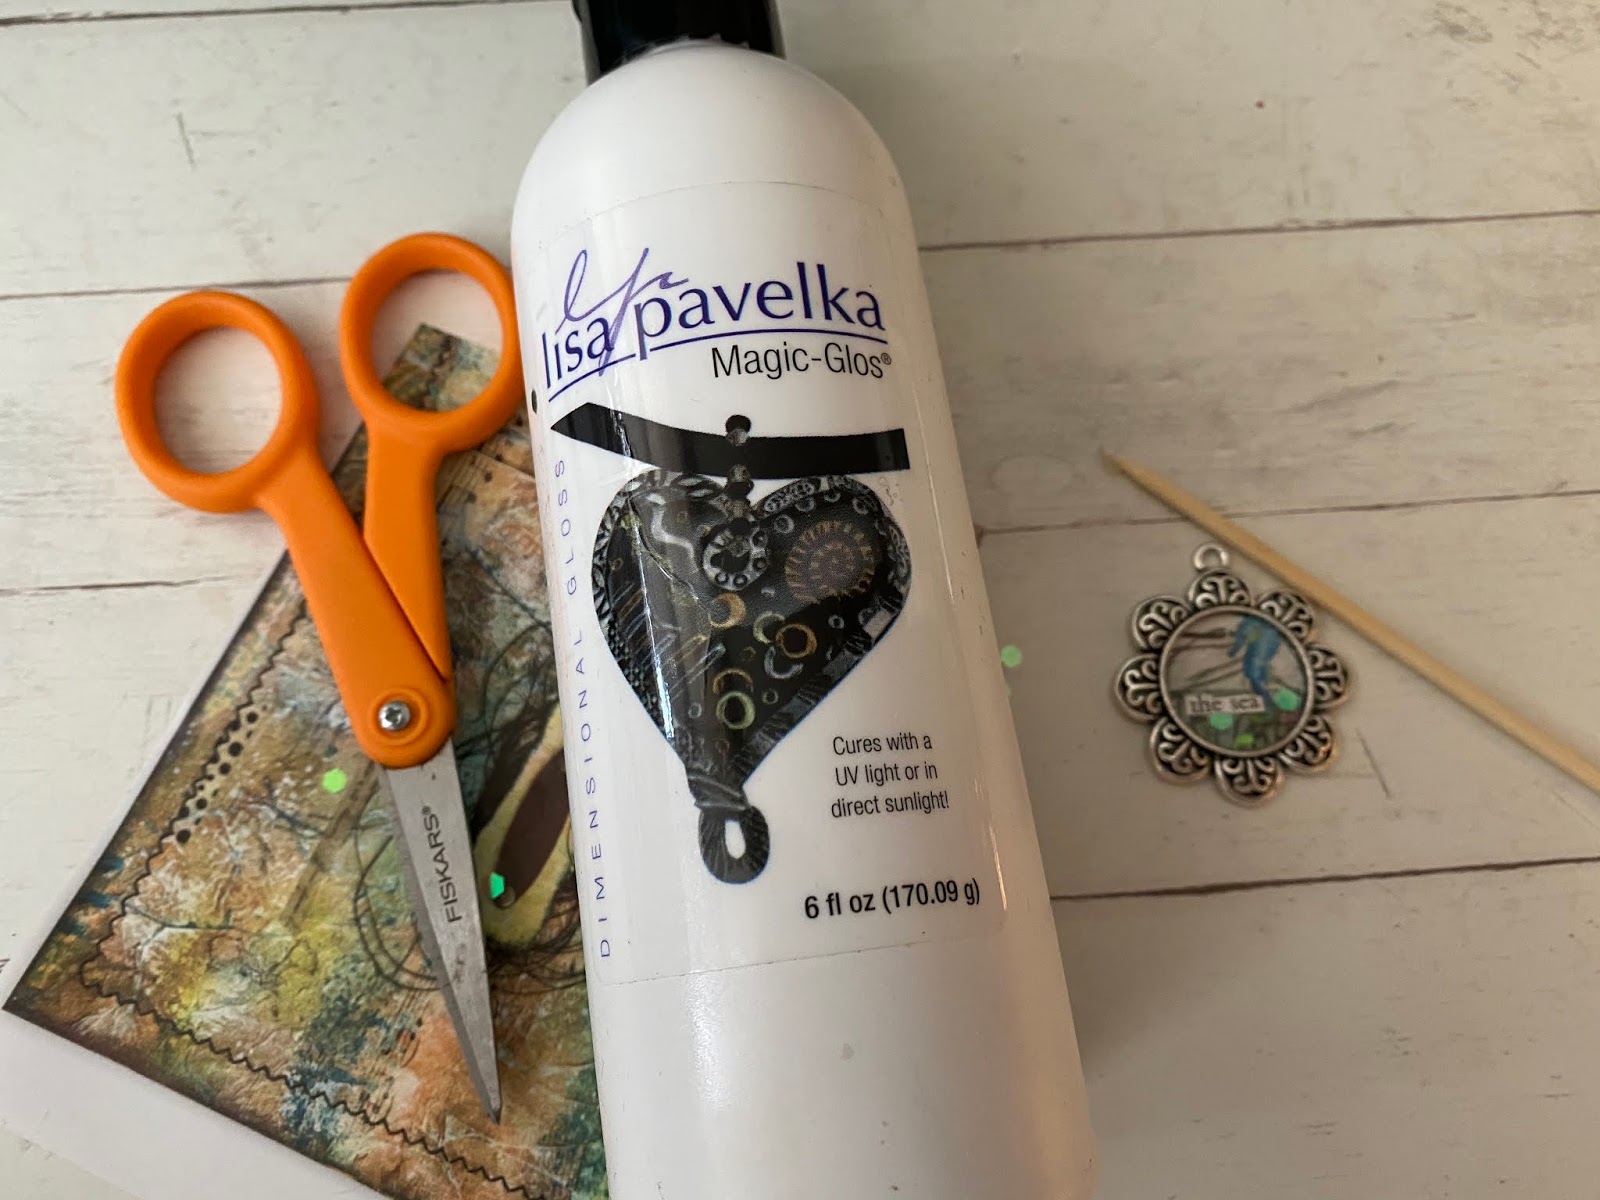
I use Lisa Pavelka products for the most part. I have a couple of her UV nail dryers but she does not make them anymore... but it's just a UV nail dryer so I found this one you can order...
Click on the link below to order on Amazon
I buy pendent trays where ever they are on sale but I also get
the Lisa Pavelka ones as well, I like their depth and weight.
Click on the link below to order on Amazon
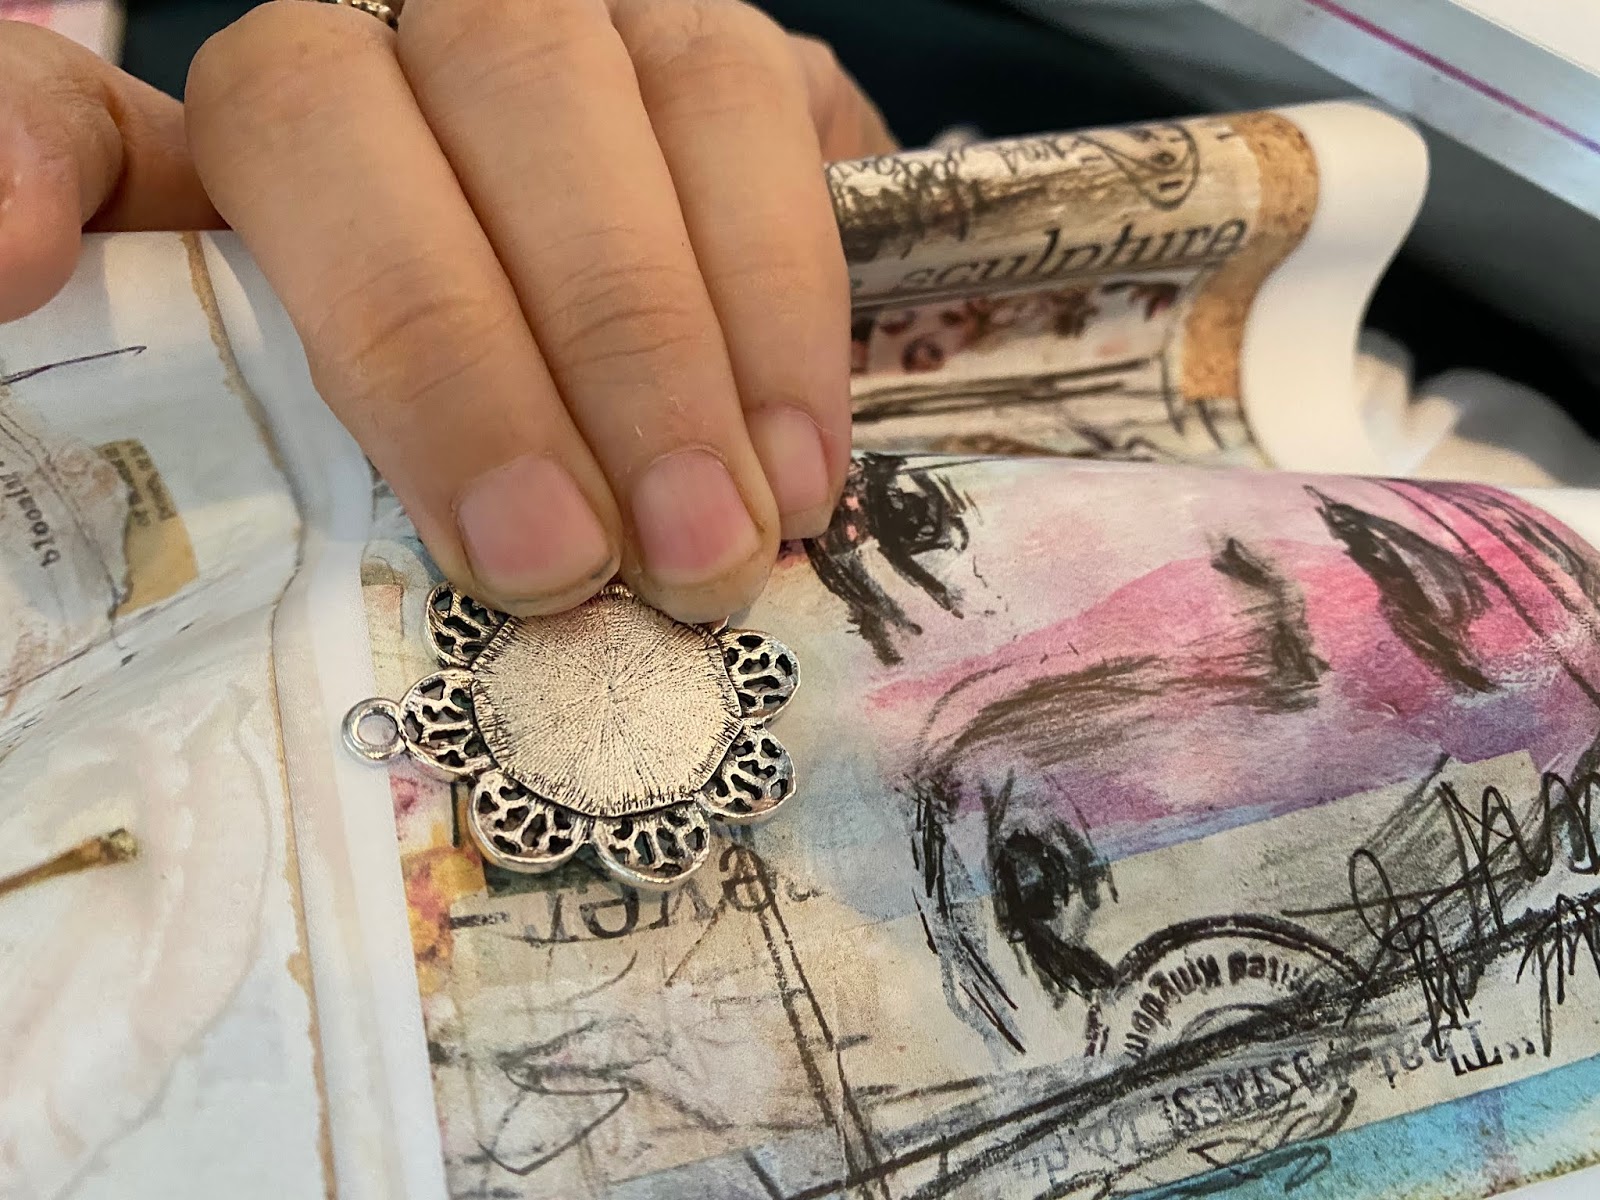
I use a lot of journal and art magazines to cut out for the backgrounds of the pendents.
The colors and patterns in these books are amazing are so fresh and fun.
I figure out the part of the page I really like and then trace the pendent.
Sometimes you have to cut the paper down some to fit in the space.
I use Frisker trimming scissors. They are great for cutting very small pieces of paper.
Put a dot of Mod Podge on the back of your cut-out and stick it in the pendent.
I found these tiny sea stickers at the beach this summer and have been itching to use them ever since. I finally got to use the blue seahorse I've had my eye on.
I found the words "the sea" in one of the magazines. One of my favorite places on earth is Anna Maria Island, Florida. I really love the water and the beach there. I just put a touch of Mod Podge over the words and used a pointy stick to attach them. I found these great food skewers on Amazon. I use them in my felting as well.
I do not ever....ever use glitter in my classroom but for this project glitter can be amazing. Keep in mind I only do this class with adults.
Large iridescent glitter is really great for this project because it picks up on the colors around it. It only takes a few pieces in your pendent to make it sparkle so the a small bottle will last forever!
You can get it on Amazon
I keep a bag of odds-and-ends because sometimes these things can really enhance your piece. Just make sure the add-on do not stick-up higher than the bezel.
Next is the resin pour. Make sure you wear gloves or have wet wipes on hand. I rarely ever get the resin on me but when you do it is really sticky. You want to get that off asap.
The UV resin is a little expensive but I have made around 40 pendents from a 6 oz bottle so far and I still have about 1/2 a bottle left.
Remember the wet wipe !!!
I use these microscope slides to place the pendents into the UV light. If the ring on your pendent is flat you only need one slide. If the ring is bumped down then you will need 2 or more slides. You are looking to keep the pendent level so that when you pour the resin it stays level.
The slides are a one time purchase, you can use them over and over forever.
When you pour make use there is a bubble over the bezel edge.
Also make sure there are no bubbles such as the ones over the seahorse's face. I use a sharp hat pin to pop the deep bubbles. You can burn the bubbles off the top with a creme brûlée torch but you do not have to. It is just a little easier and faster then the pin. If you are going to use the torch make sure to place your pendent and slide on a surface that is not flammable. And is fun to play with a fire torch! This the one I use...
Once you have the bubbles out of the wet resin set your phone timer for 20 minutes and place the glass slide with the pendent under the UV light.
20 minutes...lets go work in our art journals during this time.
After 20 minutes take out the necklace and add a chain or cord and you have an amazing new necklace that you created !!!
Good Arting!!!
Let me know how your necklace turn out.
artroomblog@yahoo.com
or comment below