


Using rulers and plastic lids we created gears with sharpies and watercolors.

Table mates working together.
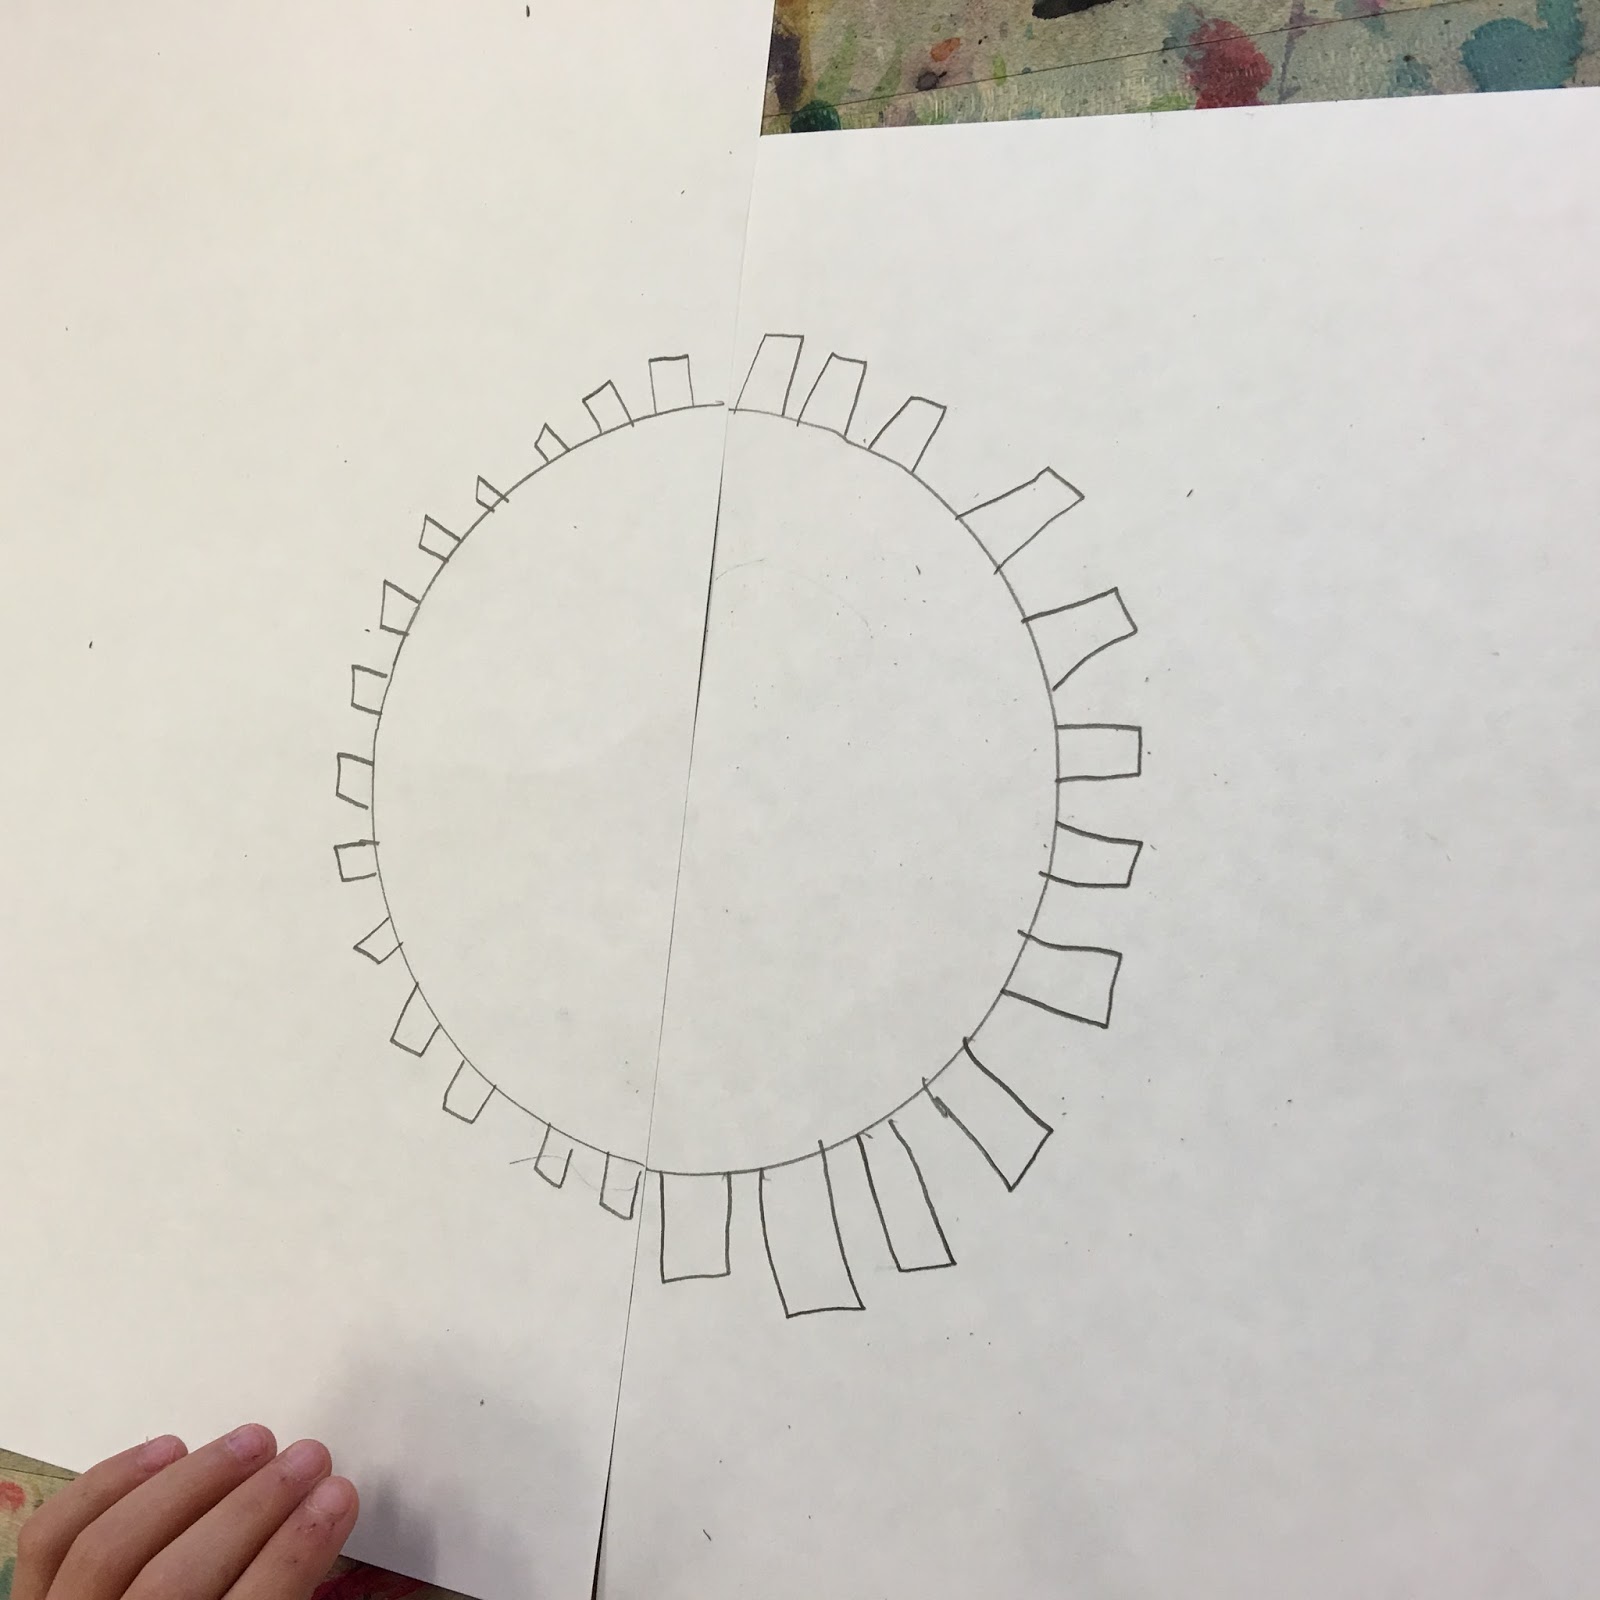
A gear piece for 2 different students put together to create one gear in their machine.

Group planning and design.


On an extra 6x6 piece of paper create a single gear or two extra gears that will be cut out and added
to the original drawing.

I found these gear blue tracers on Dick Blick but I think I like our freehand gears with the lids better.

At a recent STEAM Event #NAEA17 one of my students had her extra gear turned into a 3D model. Now she wears it like a necklace! Thank you to Christopher Sweeney for creating this awesome piece for our class!

I use a long arm hole punch called a "Crop-a-Dile II". With a Crop-a-Dile you can attach the extra gear anywhere you want on the paper.

We looked at the Robot Book, it is actually a kinder book but the parts move so it made the kids laugh!

Two individual students working together to create one machine.


This is absolutely my favorite lesson I have created to date!
It is a STEAM project as well.
After creating the simple machines in art class the teams go back to their classrooms and write about what their machines produce and how they work.


Gear
Lesson Steps…
1.
After discussion of art work viewed and geometric and complex patterns
students will sketch out how they think
their machine gears might fit together on the back of the paper with a pencil.
Students will work with their table mates to create a machine. Every one will
have their own paper but each paper will connect together with the entire table
to make one machine.
2.
When a design is
finalized, use different size traceable circles or a compass to create the
gears of your machine using a pencil. Make sure to create the teeth of the
gears.
3.
Using a ruler
connect some of the gears together by drawing arms that will attach the gears
and make it appear if they move together.
4.
Include at least 3
gears and 2 arms.
5.
When the final
design is finished, out line it with a Sharpie.
6.
Use metallic
watercolors to paint the final piece.
7.
Using a 5x5 in sheet
of paper create a separate gear, outline it with Sharpie and paint and cut out
the single gear.
8.
Attach the single
gear using a brad somewhere on the paper.
The
free gear should look like it will fit with one of the gears on the paper.
Bonus project if you have time:


Bonus project if you have time:

Each table worked as a group to create a machine that was determined by the entire class. In this case the machine solves a Rubric's cube. The paper is 18X24 inches.
This is a video of my kids working together to create their machine.
I was lucky enough to be able to present my Gears lesson at NAEA 17 in the "steAm Room". It was very exciting and we had a great turn out. Here are some of the art teachers creating their own Gears:


Here is the amazing Wintergaten YouTube video I show my class before we get to work on our Gears project...be careful the tune is addicting!
Wintergaten--Original https://youtu.be/IvUU8joBb1Q
Wintergaten--Music Box www.youtube.com/watch?v=mFfe4ZRQOH8
Wintergaten--Remixes https://youtu.be/M8R8iFf9ltE
No comments:
Post a Comment