Wednesday, October 16, 2024

Georgia Art Educator's Association Convention Workshop 2024


 STEAM Lessons


Project 3. Creating Topography Maps...


When I taught in Virginia the 4th Grade was studying the watershed tables and the major rivers. In art we are looking at some of these rivers start and the path they take to the sea. The Blue Ridge Mountains and the Shenandoah Valley run through Virginia.  In art we created an artist-eye version of a 
topographical map. 

After looking at real topographical maps we created our own mountains. Some of the students named their mountains and added in rivers and lakes.


This is an actual topographical map of the Shenandoah Valley area.

Using our creative minds and your artist's eye, students painted their topographical maps in brighter more vibrant colors than a regular topographical map.


My sketchbook and a Virginia Watershed map found on the Virginia State web page, as someone from Middle Georgia I am Middle Georgia it is all level and flat as a pancake.


A finished piece. 

Another idea for painting the circles is Value Change.

Select one color and keep adding white to it until you get to the top.
You can try this project using value changes in each ring.


Or you can paint it using wild and random colors.
Which leads us to the work of Miguel Chevalier 


 Miguel Chevalier "Magic Carpet" work reminded us of the colorful topographic maps we created. 
This led us to create a Map/Magic Carpet-inspired art out of Foam Sheets. 

You can bulk order these foam sheets from the Dollar Tree. The link to order is HERE


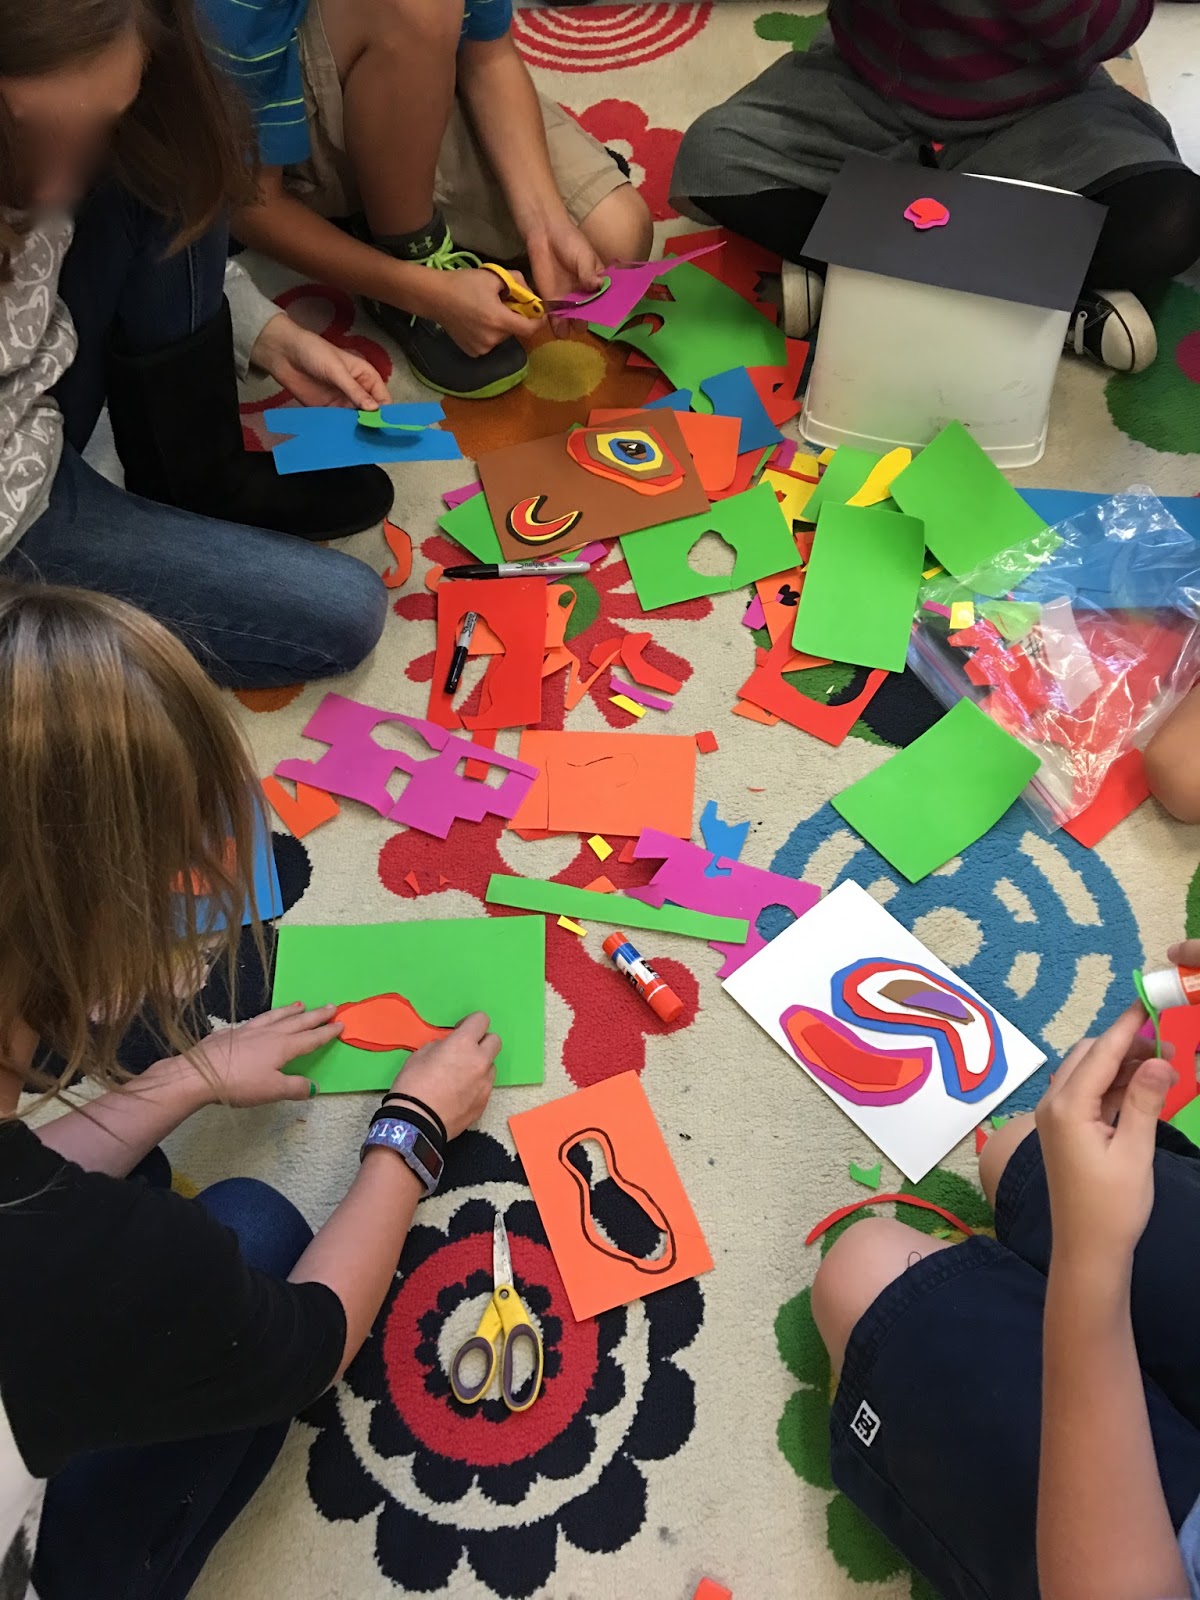
The kids has a blast with this hands-on project


They loved this part of the project!

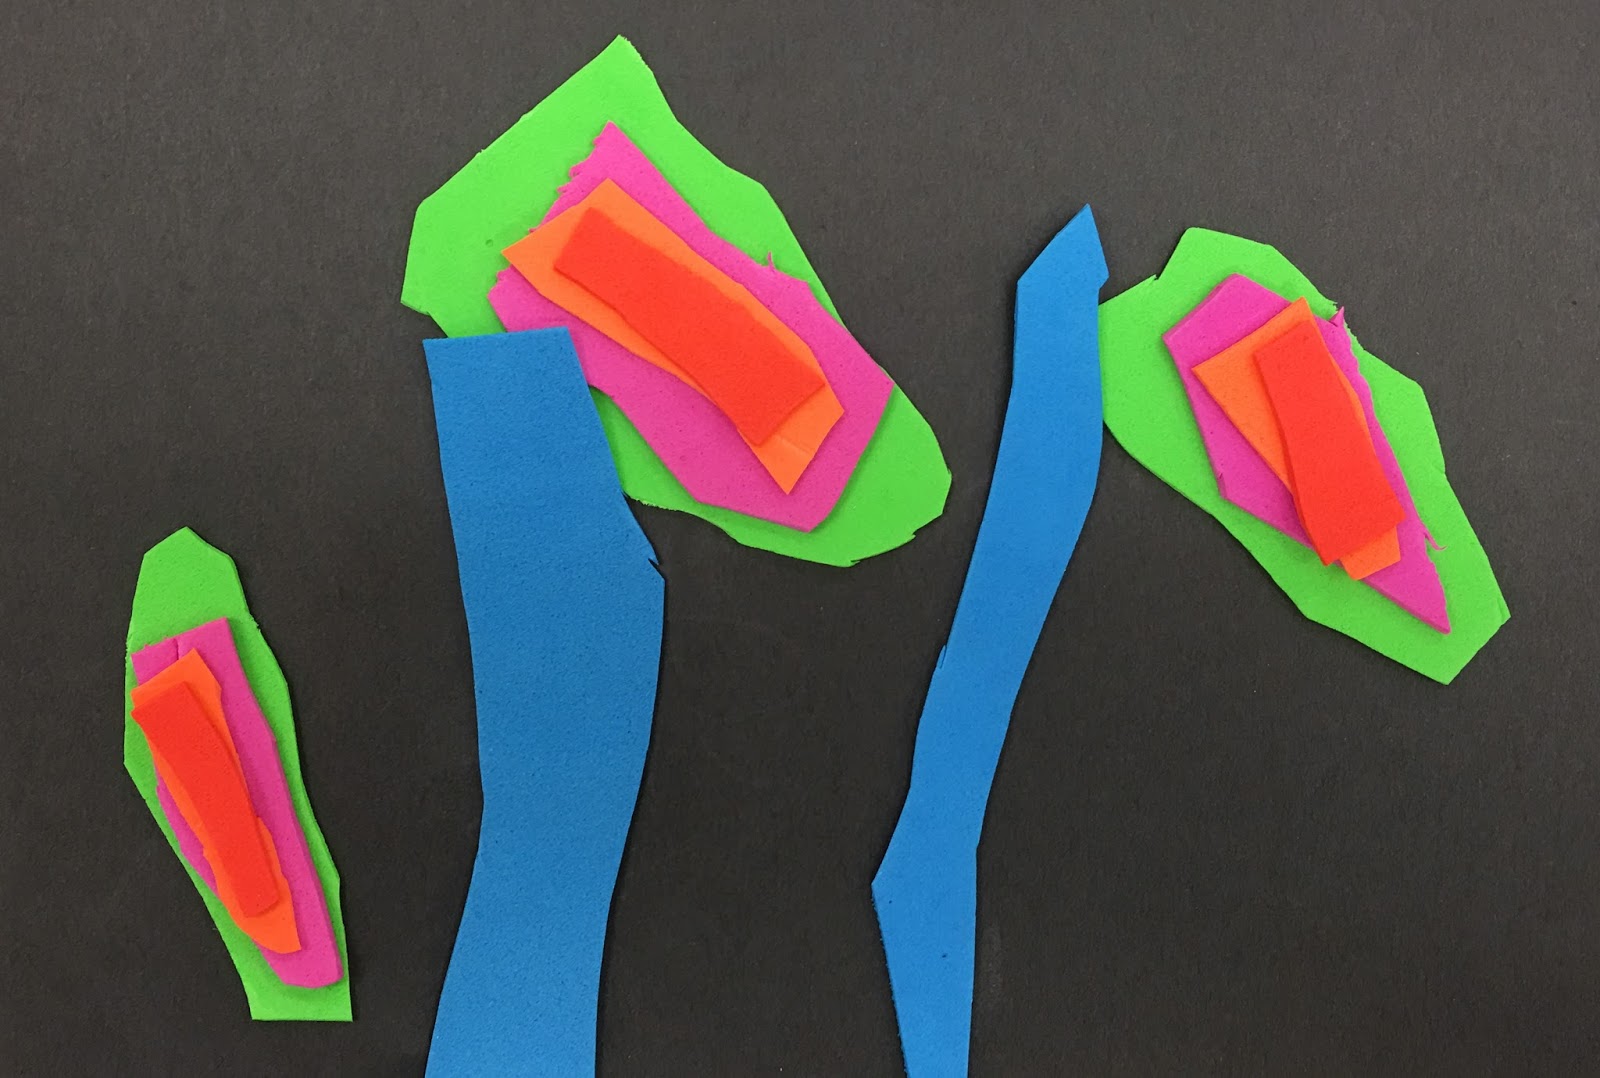
An alternative to the foam paper which can get costly is bright neon paper.

Start from the bottom and build up your mountain.

Trace around your last piece before your glue it.

Then cut it out just slightly smaller than the tracing.


Another approach to this project is to add lifters between each color. We use cut cardboard strips.


Wednesday, February 3, 2021

A Heart in the style of Romero Britto

 In the style of Ramero Britto

ROMERO Britto's  STORY

"Romero Britto, the founder of the Happy Art Movement has created a visual language of love, hope and happiness all its own that inspires millions worldwide. Brazilian-born and Miami-made, Britto is an international artist that uses vibrant, iconic imagery and fun patterns to reflect his optimistic view of the world around him. Self-taught at an early age, Britto painted on scraps of paper or cardboard or any medium he could find before coming into his own and traveling to Paris where he was introduced to the works of Matisse and Picasso. His appreciation of these masters influenced him to create an iconic style that The New York Times described, “exudes warmth, optimism and love”. Britto’s work has been exhibited in galleries and museums in over 100 countries".  britto.com


Romero Britto from the britto.com web site 


Please take a moment to watch this Romero Britto interview by Sasha  (Links to an external site.)


Heart Kids by Romero Britto


Lovely Dog by Romero Britto

Notice the letters in the grass. Romero Britto likes to us letters and

especially his name in his work. 


Flying Hearts by Romero Britto

This is the art work we will look at to create our own Romero Britto styled heart.


Materials:

White paper

Sharpie

Water and a brush

Markers-Washable markers work best but you can use what ever you have.


Step 1. Using your Sharpie, draw the outline of a heart that fills the page.


Step 2. Draw 4 straight lines inside the heart to break it up into 5 different spaces. 


Step 3.  Fill 4 of the sections up with your favorite lines. 


Step 4.  Fill in the last section with your favorite shape.


  Step 5. Using your markers color 3 sections of your heart.


Step 6.  Get out a container of water and a paint brush. If you do not have

a paint brush your finger will do.


Step 7.   Make sure you put something under your art work like

a paper towel or a newspaper before you start. Using the paintbrush

paint the water over the marker and allow the colors to bleed together.

Pull some of the color into the 2 white spaces. You can let the color

bleed outside the heart as well.


Step 8.   Allow the paint to dry and then add your initials around the

border of the heart. Your initials are the first letter of your first name

and the first letter of your last name. For example my name is 

Lee Darter so my initials are LD. Romero Britto likes to use letters 

in his art work, let's try it too.


Bonus Idea...

Cut your heart out and glue it to black paper.


Make sure to take a photo and submit your heart art

into the Art Room Blog Facebook Page.