


Step one. At the top 1/4 of a piece of black construction paper cut across in a crazy and fun way.
You can save the cut off piece to make a crown for your teacher's hair bun.


Step 2. Draw a square on your paper about 2 inches for each side. Next draw a Picasso face on our mask using a white crayon.

Step 3. Start coloring in your face using Construction Paper Crayons and color STIX. Make sure to leave black spaces between each new color.


You do not have to color in the eyes. We will be adding on felt and button eyes on the last step.


Step 4. Add a colorful repeating patter around the sides and hair areas. Remember to leave black spaces in between the colors.


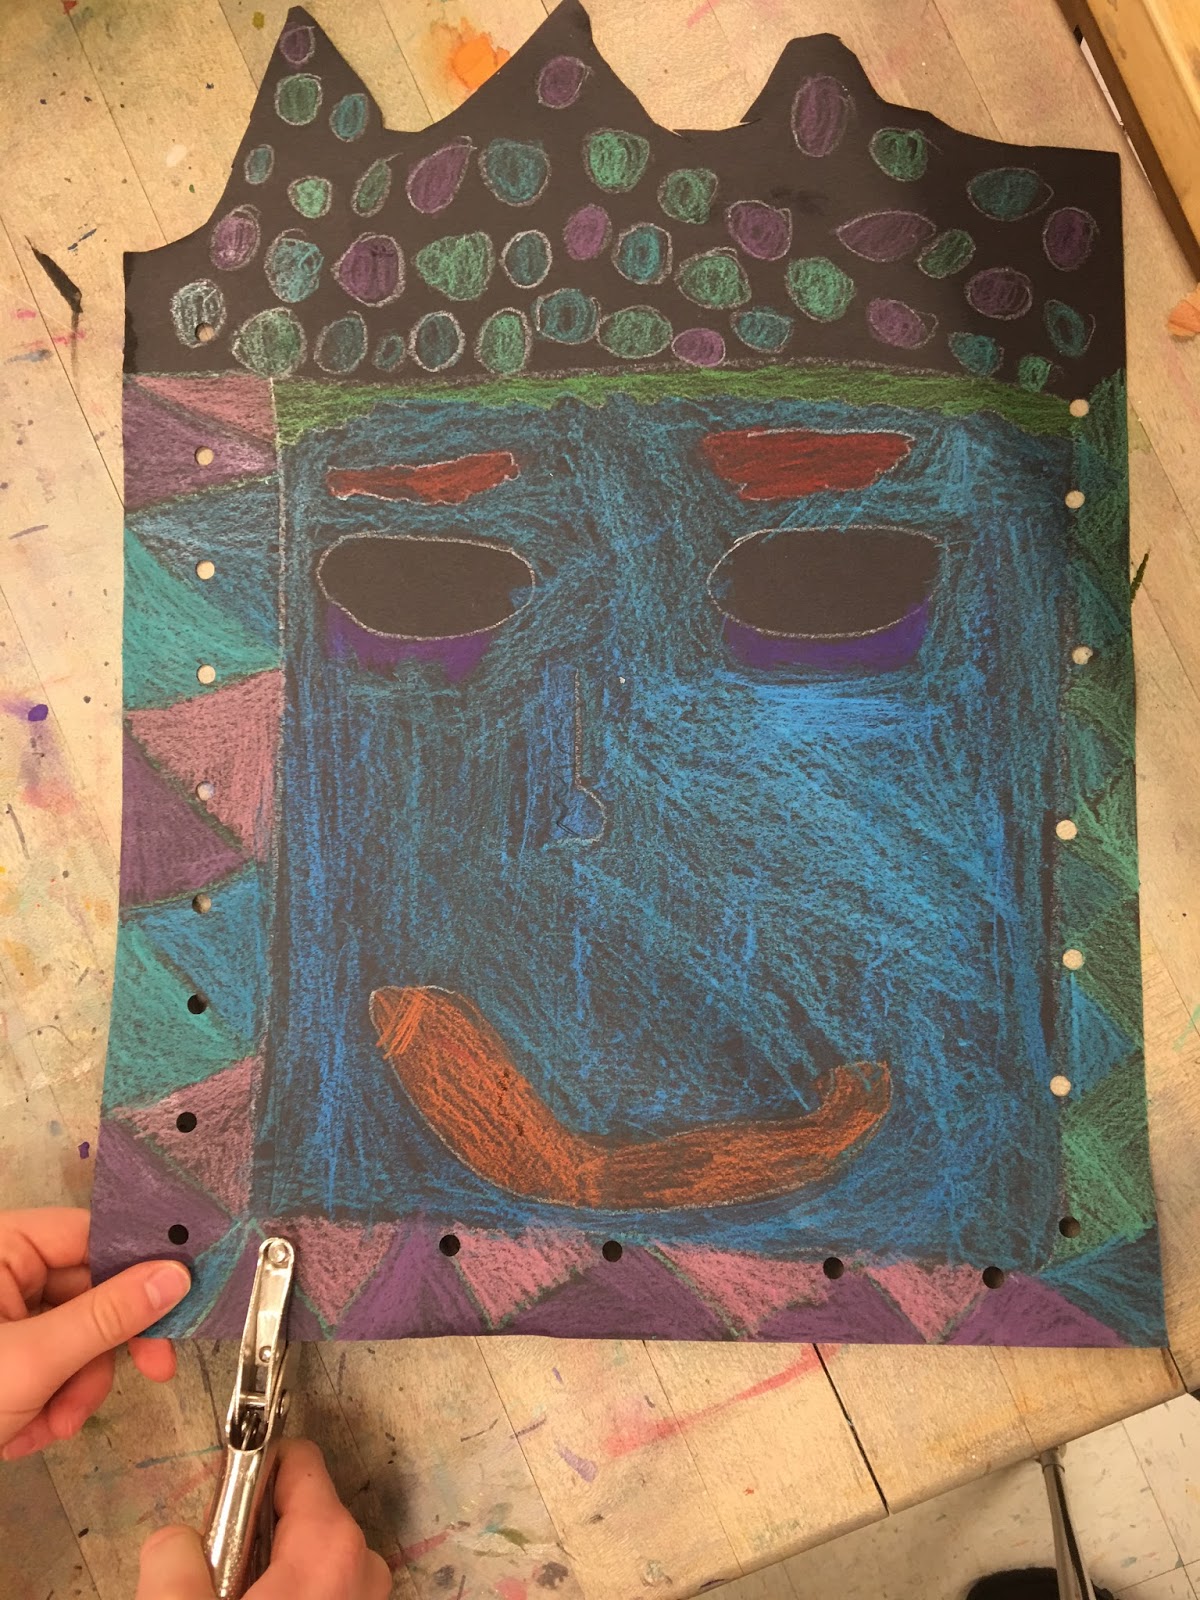
Step 5. Adding the yarn... Using a hole punch, punch holes on 3 sides of your mask
about 1 1/2 inches apart. Do not hole punch the top where the crazy hair is...(unless you want to and then add yarn on your hair).


Measure out to 8 inches

Cut at the end of the ruler.


Adding the yarn will be repeated as you work your way around the mask making sure you get all the holes.

I keep my yarn in plastic zip lock bags to keep it from tangling.

Step 6. Cut felt for the eyes and a different color of felt of the iris. Then add a button for the pupil.


And alternative to cutting the yarn at 8 inches is to just sew it all the way around the mask.
I keep my yarn in plastic bags by color so it
will not get tangles and create
a huge yarn ball!

I keep my felt in a large tubby....and yes it sometimes gets messy!

Really messy...
But the kids
always seem to manage to get it all cleaned up when I start counting backwards
from 10!!! I have know idea what they think will happen when I get to 10 but it
always seems to work.

My collection of buttons. Please feel free to donate buttons to the cause!


Lesson Plan print out for this project can be found on Teachers Pay Teachers

This was my inspiration piece. I wish I could tell you were it came from but I have had this photo so long I have no idea were it came from-long before I had a blog. I saw it in a magazine when I was
still in college 15 years ago. I was trying to find ideas for lesson plans so I saved it.
If anyone knows where this photo came from please
leave a comment and let me know. The ones
in photo are actually cloth and the colors are sewn on more like a Mola.
These are fabulous? How many class periods for each step? (Mine are about 50 minutes)? Thanks for sharing
ReplyDeleteThis is a 3 day lesson. My classes are 45 mins.
Delete1. we discuss Picasso and his masks, we cut the top off and start the face.
2. Continue the face and teach the holes and yarn.
3. workday to finish up.
This si amazing! So funny, I was perusing Pinterest for some new ideas and this one popped up...all I could think was "I love Lee Darter's lessons!!" One question. Since htis is done on construction paper, have you noticed any issues with tearing, specifically when tassels are added? or is the construction paper stabilized with a thicker backing?
ReplyDeleteI make use I repeat over and over again...."what happens if you pull to hard" they will echo back "it will rip". I just make sure they are aware of what might happen before they start. I usually do not have any problems and when I do it is the usual suspects who were not listening. I just cut off a little packing tape and stick it on the back and punch a new how. And thank you for your lovely complement.
Delete