Showing posts with label Lessons Inspired by Artists. Show all posts

Wednesday, February 3, 2021

A Heart in the style of Romero Britto

 In the style of Ramero Britto

ROMERO Britto's  STORY

"Romero Britto, the founder of the Happy Art Movement has created a visual language of love, hope and happiness all its own that inspires millions worldwide. Brazilian-born and Miami-made, Britto is an international artist that uses vibrant, iconic imagery and fun patterns to reflect his optimistic view of the world around him. Self-taught at an early age, Britto painted on scraps of paper or cardboard or any medium he could find before coming into his own and traveling to Paris where he was introduced to the works of Matisse and Picasso. His appreciation of these masters influenced him to create an iconic style that The New York Times described, “exudes warmth, optimism and love”. Britto’s work has been exhibited in galleries and museums in over 100 countries".  britto.com


Romero Britto from the britto.com web site 


Please take a moment to watch this Romero Britto interview by Sasha  (Links to an external site.)


Heart Kids by Romero Britto


Lovely Dog by Romero Britto

Notice the letters in the grass. Romero Britto likes to us letters and

especially his name in his work. 


Flying Hearts by Romero Britto

This is the art work we will look at to create our own Romero Britto styled heart.


Materials:

White paper

Sharpie

Water and a brush

Markers-Washable markers work best but you can use what ever you have.


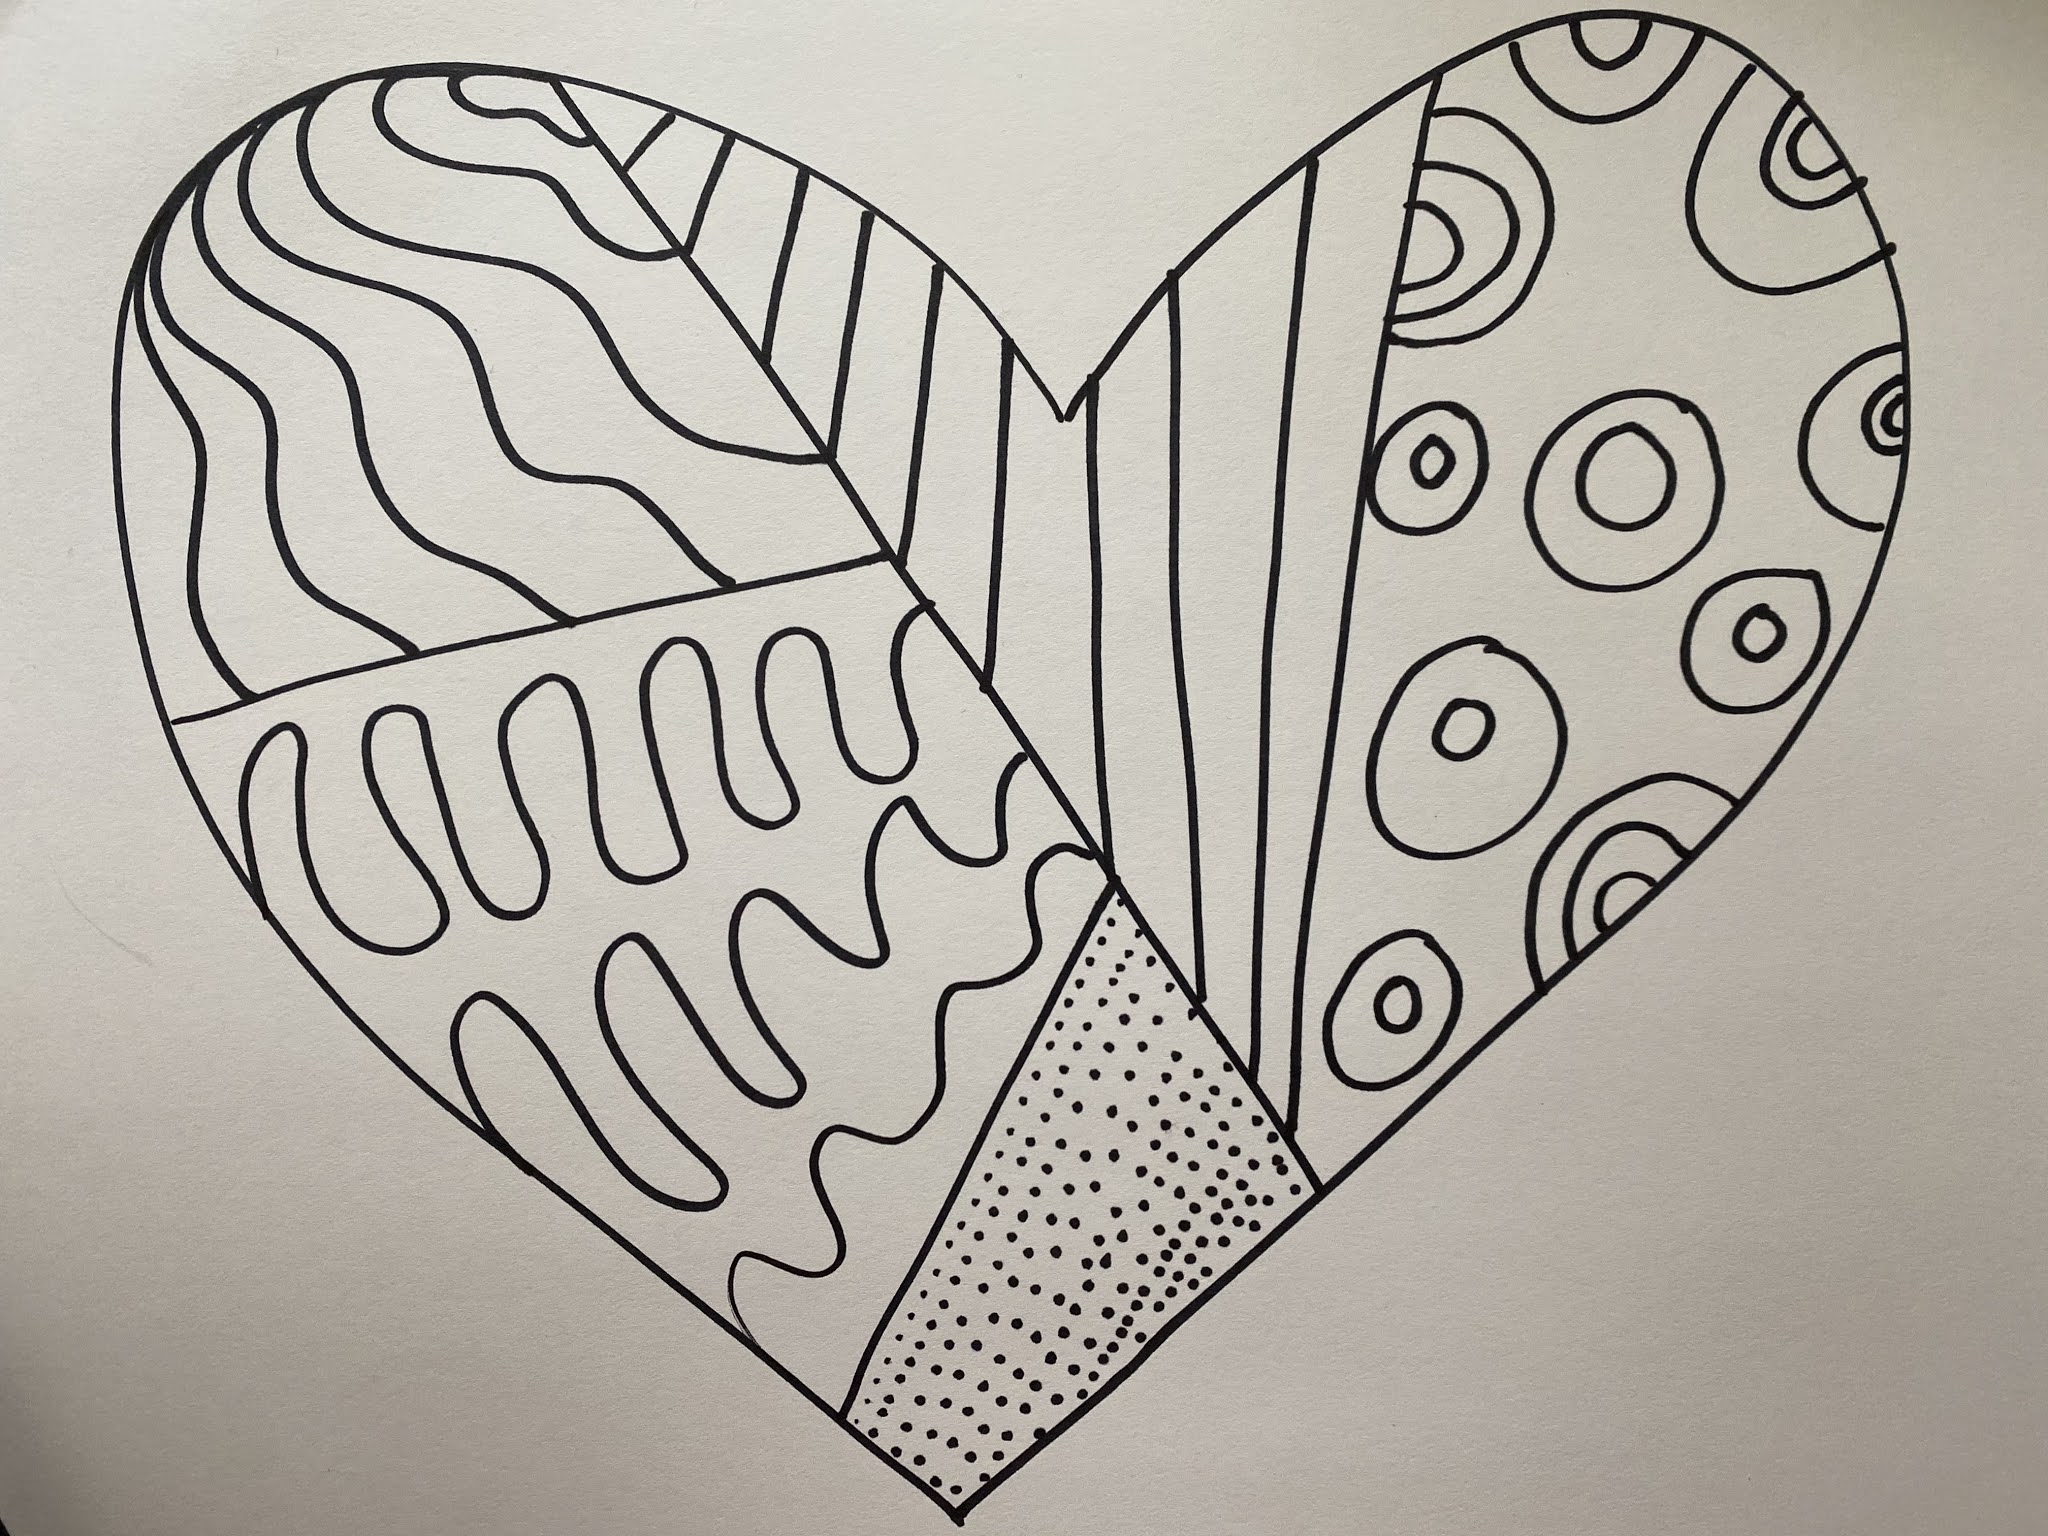
Step 1. Using your Sharpie, draw the outline of a heart that fills the page.


Step 2. Draw 4 straight lines inside the heart to break it up into 5 different spaces. 


Step 3.  Fill 4 of the sections up with your favorite lines. 


Step 4.  Fill in the last section with your favorite shape.


  Step 5. Using your markers color 3 sections of your heart.


Step 6.  Get out a container of water and a paint brush. If you do not have

a paint brush your finger will do.


Step 7.   Make sure you put something under your art work like

a paper towel or a newspaper before you start. Using the paintbrush

paint the water over the marker and allow the colors to bleed together.

Pull some of the color into the 2 white spaces. You can let the color

bleed outside the heart as well.


Step 8.   Allow the paint to dry and then add your initials around the

border of the heart. Your initials are the first letter of your first name

and the first letter of your last name. For example my name is 

Lee Darter so my initials are LD. Romero Britto likes to use letters 

in his art work, let's try it too.


Bonus Idea...

Cut your heart out and glue it to black paper.


Make sure to take a photo and submit your heart art

into the Art Room Blog Facebook Page.

Tuesday, January 14, 2020

5th Grade Number Project...


This project is inspired by the work of the famous artist Jasper Johns...
Title:    0-9  
Date created: 1961


I found these number stencils at Scrap RVA in Richmond, Virginia. Scrap RVA is an arts and craft recycle store...and it is awesome! I teach Scrappy Creatures and Japanese Stab Binding at Scrap RVA. If you are ever in the Richmond area you must add it to your do-to-list. 

You can buy a set of these graphic number stencils on Amazon, just click on the link below...


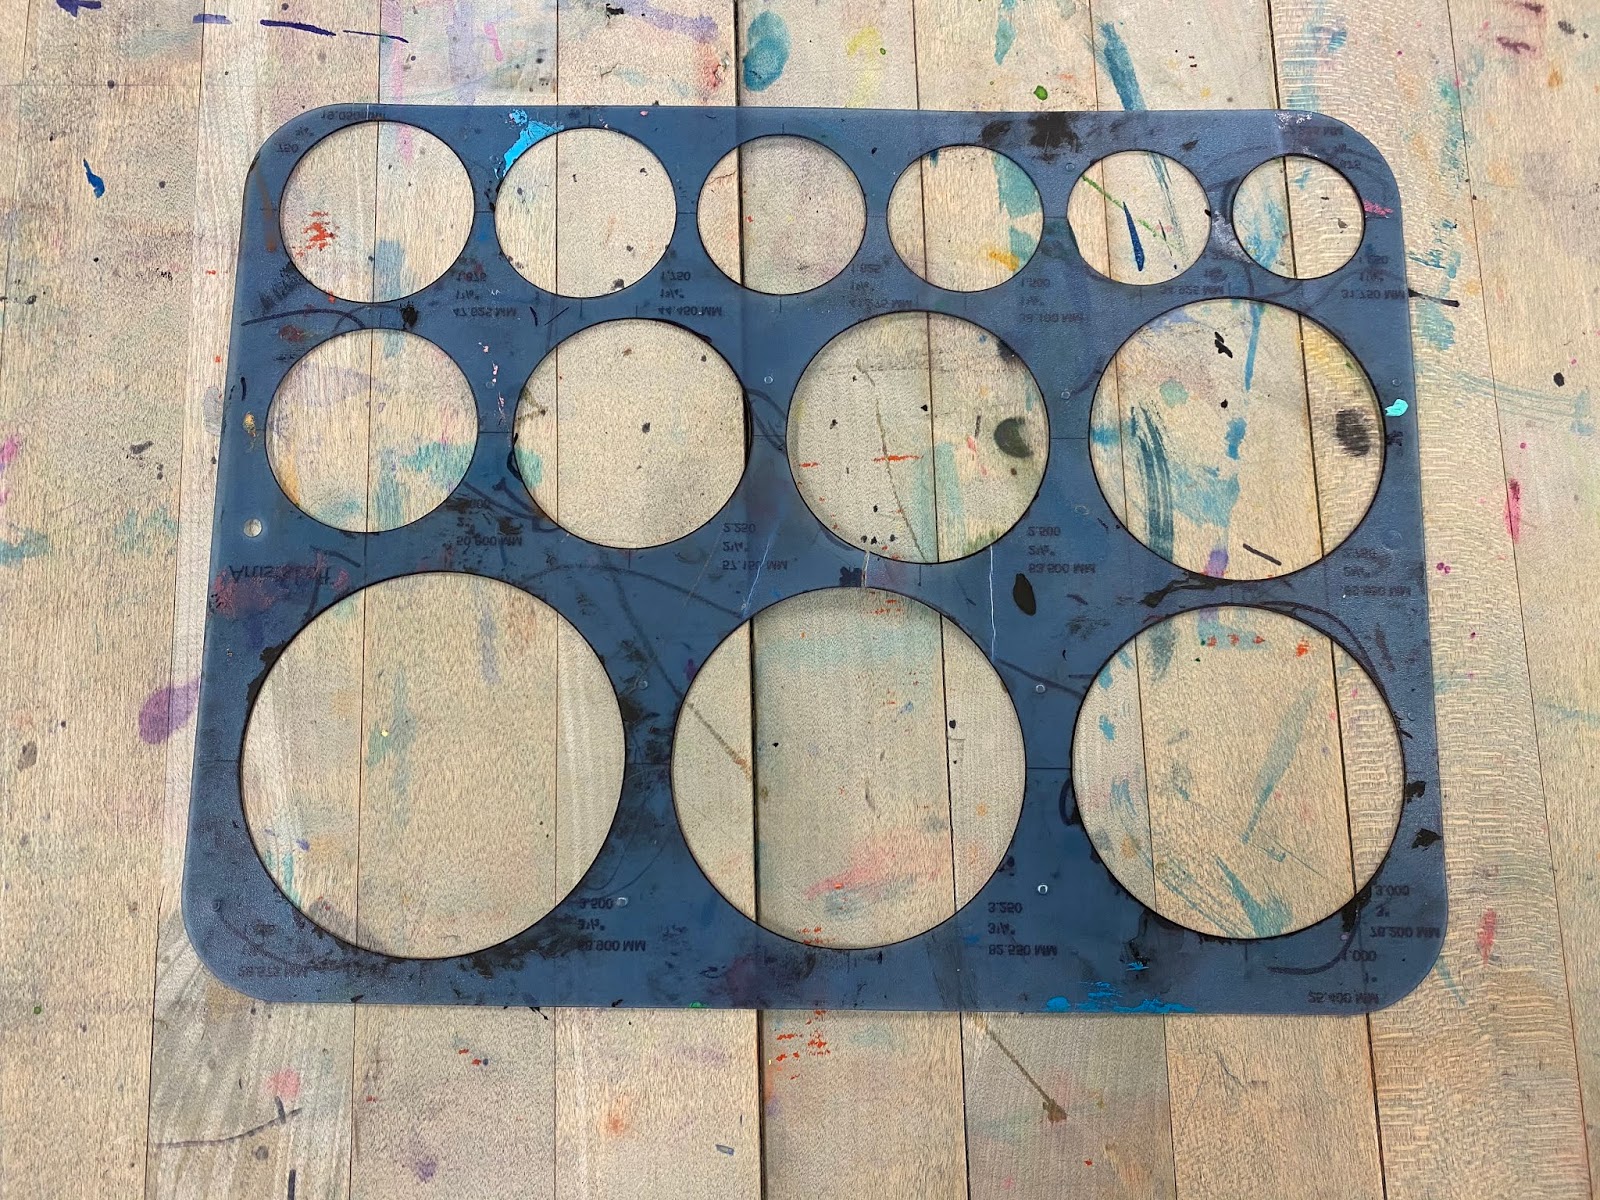
You will also need a circle tracer as well. I got this one at Michaels with my weekly 40% off coupon. 

You can get it on Amazon by clicking the link below...


The paper size for this project is 12x18 90# white multi use paper by Pecon.

Students pick their 3 favorite numbers to trace with a pencil. The first number should be traced 
right-side up.

The second number is placed over the first number but this time it should be traced upside down.

The third number is placed over the first 2 and can be traced in any direction the student chooses...either right-side up or upside down. Any of the 3 numbers can be traced backwards as well. 

Using the circle tracer add 3 different size circles overlapping the numbers somewhere on the paper.

Use a fine tip Sharpie to trace over all the pencil lines.
Fill in the small spaces with lines using the Sharpie.

Add shading in some of the corner points with a pencil. I just have the kids smooth out the
pencil lines with their fingers or you can use a blending tool.

You can order blending tools on Amazon by clicking the link below ...


After you have finished all the corner shading start to add your color.

I let my students choose between colored pencils or water colors.
I use Crayola colored pencils and a mix of Prang and Crayola watercolors in my art room.

 Colored Pencils

Watercolor

Jasper Johns painted the entire canvas for his art work tilted  0-9  
I only have my students paint inside the numbers and circles but you can try it either way. 


Let me know what you think and please share your results if you try this project in your class room. You can email me at 
artroomblog@yahoo.com

Check back for new projects and ideas every Thursday.